
By Devonte Longmire
Mobile check deposits
Did you know you can deposit a paper check into your bank account using just your smartphone? It’s called photo check deposit, or mobile deposit, and it’s available through most bank apps.
It’s safe, secure, and saves you a trip to the bank or ATM!
What Is Mobile Check Deposit?
Mobile check deposit lets you use your phone’s camera to take pictures of the front and back of a check. Then, using your bank’s mobile app, you can send those pictures directly to your account. The money goes into your account just like it would if you went to the bank.
What You’ll Need:
A smartphone (iPhone or Android)
A check made out to you
Your bank’s mobile app (free from the App Store or Google Play)
A steady surface with good lighting
Is It Safe?
Yes! Mobile check deposit is safe as long as you use your official bank app. Here’s why it’s secure:
The app uses bank-level encryption to protect your information.
Your check images are sent directly to your bank over a secure internet connection.
No one else can deposit the same check once it’s marked or processed.
Your bank may also send you a confirmation once the deposit is complete.
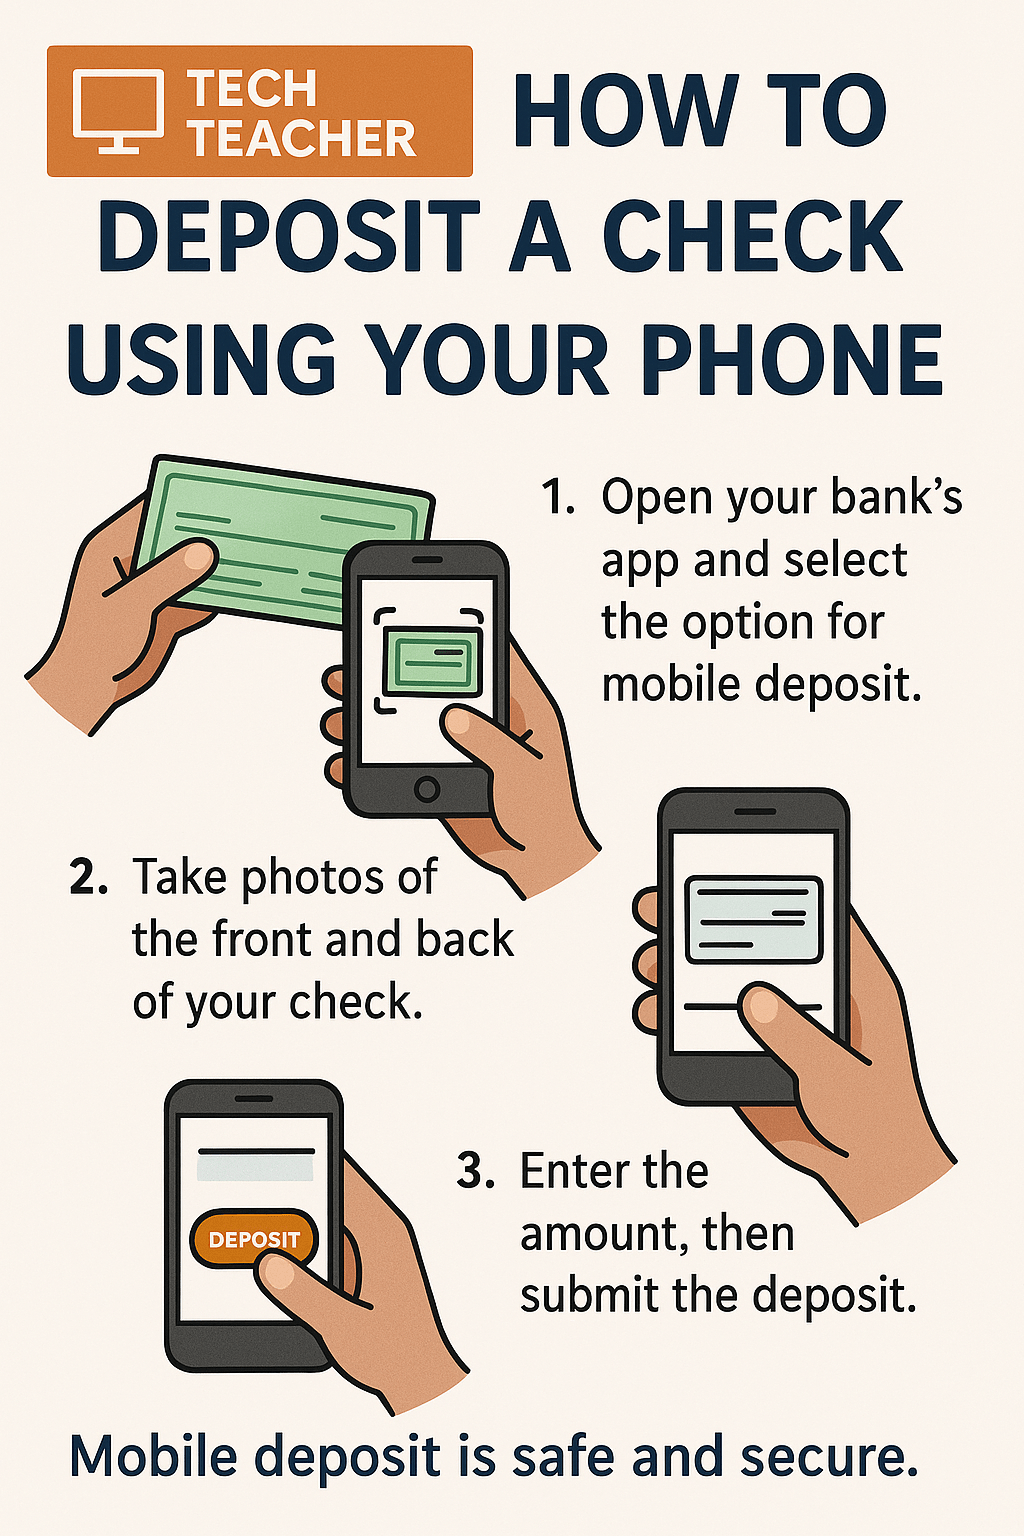
Step-by-Step: How to Deposit a Check with Your Phone
1. Log into Your Bank’s App
Open the app and log in using your username and password. (Or fingerprint/face ID, if available.)
2. Find ‘Deposit Check’ or ‘Mobile Deposit’
Look for an option labeled “Deposit,” “Check Deposit,” or something similar.
3. Enter the Check Amount
Type the amount written on the check.
4. Take Photos of the Check
The app will ask you to take two pictures:
One of the front of the check
One of the back, after you’ve signed it
Make sure the check is:
On a flat, dark surface
Well-lit
Fully visible in the frame
Tip: Sign the back of the check and write “For Mobile Deposit Only” under your signature if required by your bank.
5. Review and Confirm
Check everything one last time, then press Submit or Deposit.
6. Wait for Confirmation
The app may tell you the deposit is pending or complete. Most banks will email or notify you when the check clears.
What to Do with the Paper Check
Keep the check in a safe place for 14 to 30 days just in case your bank needs it for any reason. After that, you can shred it or write “VOID” across it and throw it away.
Helpful Tips
Only use your bank’s official app. Don’t trust third-party apps or links from text messages.
Use Wi-Fi if possible to save data and avoid poor signal issues.
Double-check the amount and your pictures before submitting.
Need Help?
If you’re ever unsure, call your bank or visit a branch for assistance. You can even ask a trusted friend or family member to walk you through it the first time.
Tech Teacher is here to help you stay safe, confident, and connected in the digital world. You’ve got this—and we’ve got your back!
Printout


Leave a comment